


Set up the XINBAI H66 for local wildlife recording, selectable night illumination and AA or 18650 power.
Choose Power and Install an SD Card
With the camera off, select 4 or 8 matching AA batteries, or five matching pointed-head 18650 lithium batteries 67–69mm long. Follow the tray polarity markings. Do not mix the battery configurations or old and new cells. The external supply requirement isDC6V,2A. Charging support applies to the compatible 18650 configuration; do not attempt to recharge AA cells in the camera. Insert an unlocked SD card up to 256GB before switching on. Back up files before formatting.
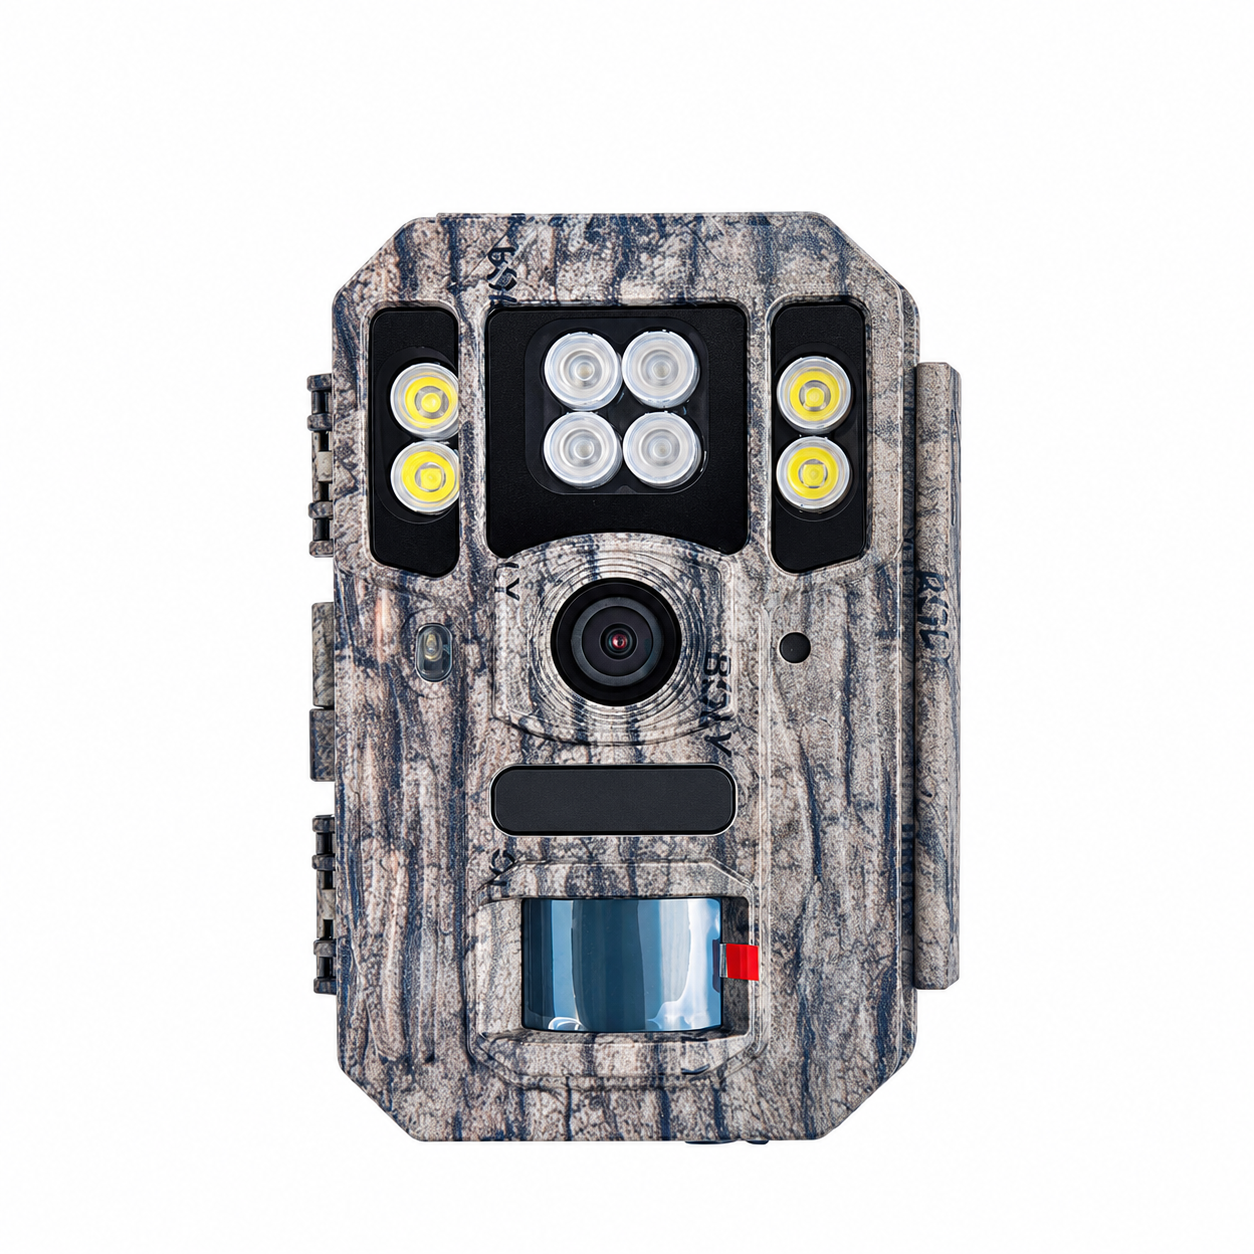
Local Setup and Playback
Move the switch to SETUP to turn on the 2-inch LCD. Press MENU, use Up/Down to select a setting and Right to change an option, then press OK to save every change. Set the date and time. Press SHOT for a manual photo or video; press again to stop video. Use Playback and Up/Down to review files. H66 is the local-recording model and does not require a SIM card.

Choose Night Picture Type
Select color in Picture Type for white-LED night photos and videos, or black-and-white for 940nm infrared night capture. Take a test recording after selecting the lighting mode. Keep nearby branches away from the camera and place the subject area within the available illumination range. White LEDs emit visible light, so consider the subject and location when choosing the mode.
Photo, Video and Trigger Settings
Select Photo, Video or Photo + Video. The imaging system is 8MP native;56MP is interpolated output. Available video menu settings include 4K,2K,1080P and 720P. Set video duration between 5 and 180 seconds. Photo burst supports 1–3 photos; Photo + Video uses one photo per event. Choose High,Normal orLow PIR sensitivity, or turn PIR off for interval-only capture.
Time Lapse and Working Schedule
Set a time-lapse interval from 5 minutes to 8 hours for scheduled capture. For motion-only recording, turn time lapse off and keep PIR enabled. For both types of capture, enable PIR and select a nonzero interval. At least one trigger method must remain active. Set PIR interval from 0 seconds to 1 hour to control the pause after each trigger. Configure working days and the daily working window if needed.

Mount and Start
Use the strap or mounting bracket to attach the camera securely. Frame the monitoring area using test images, accounting for the 110° view. Avoid moving vegetation and nearby heat sources. Close the housing, secure the latches and move the switch to ON. The red motion indicator blinks for about 10 seconds before automatic capture begins.
Manage Files and Protect Settings
Back up important recordings before deletion or formatting. Enable recycle storage only if overwriting the oldest files when the card fills is acceptable; this works in ON mode. Set a four-digit startup password if access protection is required and keep a secure record of it. An A–Z camera identifier and time stamp help identify captures from multiple cameras.
Troubleshooting and Care
For no recordings, check battery condition, SD insertion/unlock status, working schedule and trigger settings. For excessive empty captures, reduce PIR sensitivity or adjust aim away from vegetation and heat sources. For poor night images, check Picture Type, subject distance and nearby reflective objects. Keep the lens and housing seals clean, dry the camera before opening and remove batteries for prolonged storage.
Technical Specifications
| Model | H66 |
|---|---|
| Image sensor | 8MP native image resolution |
| Photo output | 8MP native; up to 56MP interpolated |
| Video settings | 4K / 2K / 1080P / 720P |
| Video length | 5–180 seconds |
| Photo burst | 1–3 photos; Photo + Video uses one photo |
| Capture modes | Photo / Video / Photo + Video |
| Field of view | 110° |
| Lens aperture | F2.4 |
| Night illumination | 4 white LEDs for color night photos/videos; 4 × 940nm IR LEDs for black-and-white night photos/videos |
| Illumination range | Up to 100ft (approximately 30.5m) |
| PIR detection range | Up to 100ft (approximately 30.5m) in suitable conditions |
| Trigger time | Less than 1.1 seconds |
| PIR sensitivity | High / Normal / Low / Off; default Normal |
| PIR interval | 0 seconds–1 hour; default 5 seconds |
| Time lapse | Off or 5 minutes–8 hours; scheduled or combined PIR/interval capture |
| Storage | SD card up to 256GB; no built-in image storage |
| Display | Built-in 2.0-inch LCD |
| Sound recording | Supported |
| Battery configurations | 4 or 8 AA batteries, or 5 pointed-head 18650 lithium batteries; use one matching battery configuration |
| 18650 size requirement | Pointed-head cells,67–69mm length |
| External power | DC6V,2A adapter; adapter optional |
| Rechargeable battery support | Pointed-head 18650 configuration supports charging via compatible external DC supply or solar panel |
| Standby consumption | Less than 0.3mA; less than 7mAh/day |
| Operating temperature | −20°C to+60°C |
| Relative humidity | 5–90%, non-condensing |
| Dimensions | 145.1 ×103.8 ×82mm |
| Unit weight | Approximately 0.40kg |
| Water protection | IP68-rated housing |
| Working schedule | Selectable working days and daily working window |
| Connectivity / operation | Non-wireless model; local LCD setup and playback;8-key keypad |
| File / security functions | Date/time stamp; A–Z camera identifier;4-digit startup password; loop overwrite in ON mode; SD format; default reset; version display |
| Menu languages | English / Finnish / German / Swedish / Danish / Norwegian / Czech / Russian / Italian / French |
