


Setup guide for the XINBAI H100. Confirm lithium or eight-AA hardware before following power instructions.
Confirm Your Power Version
This guide follows the supplied lithium-version manual. H100 is offered as a lithium version or an eight-AA dry-cell version. Confirm the hardware before following power instructions. Do not attempt to charge disposable AA batteries or assume the AA version shares the lithium charging system.

Power and Card Setup
For the lithium version use its dedicated Type-C charging port and the compatible supply specified for the actual unit. The manual does not state battery capacity or charging input rating. The internal USB data port does not charge the battery. Switch OFF before inserting or removing the memory card. The manual specifies SD/SDHC storage up to256GB and recommends a high-speed card. Check the slot markings and card compatibility; never force a card.
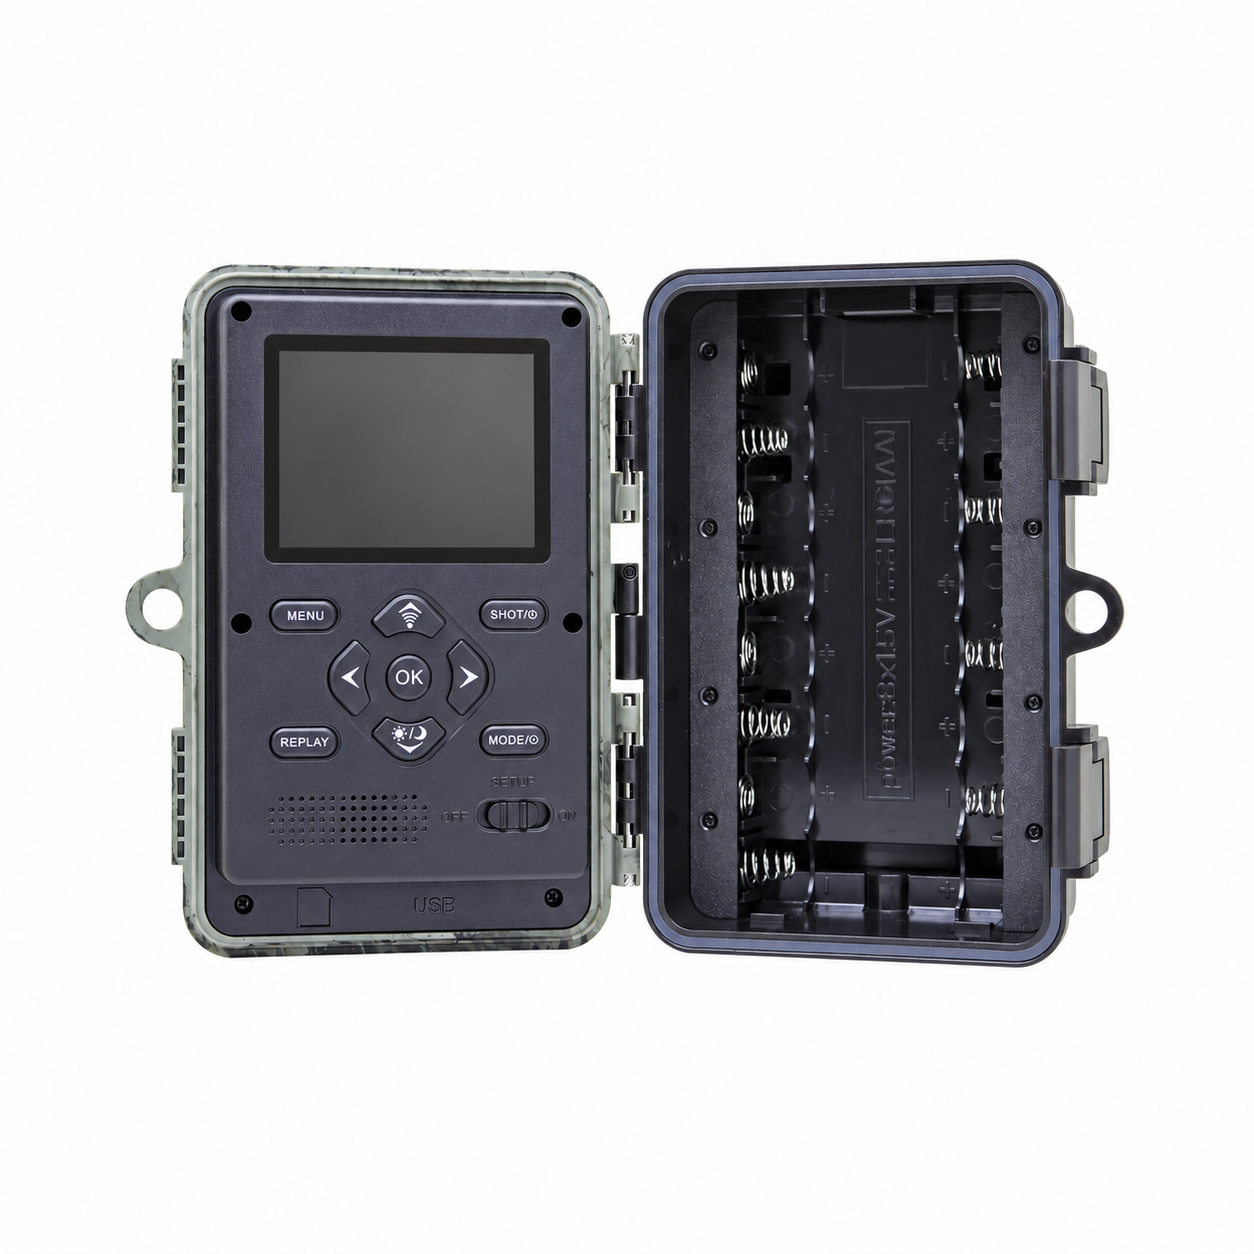
SETUP and First Recording
Remove the protective lens film. Move the switch to SETUP to activate the LCD. Set date/time and choose Photo, Video or Photo+Video. Back up existing files before using Format: it permanently erases the card. Use the physical buttons to navigate menus and OK to confirm. Take a test image or short video and review it before deployment.
Day and Night Settings
Daytime video defaults to4K3840×2160 at30fps; nighttime defaults to1080P1920×1080 at30fps. Clip length is5–180seconds. Daytime photo output reaches60MP from a13MP native sensor; nighttime output reaches4MP from a2MP sensor. Auto selects the appropriate sensor according to light. More Color may produce substantial noise in darkness; test Auto for ordinary infrared night recording.

Connect the WiFi Cam App
Install the WiFi Cam app identified by the supplied manual. Enable phone Wi-Fi and Bluetooth. Switch the camera to ON, open the app and use its add/connect control to find the camera. Select the camera, accept the phone prompt to join its Wi-Fi and return to the app if instructed. The manual describes nearby live preview, photo/video control, settings and file download. Stay nearby within signal range; this is not internet or cellular remote monitoring. Do not publish actual device network passwords.
PIR and Time Lapse
Choose High, Medium or Low PIR sensitivity. Side PIR can be enabled to detect approaching subjects before they enter the main zone. Time Lapse captures at a selected interval and disables ordinary PIR triggering while enabled. Turn it off when motion-triggered capture is required. Monitoring Period limits recording to a selected daily time window.
Mount and Test Detection
Choose a stable mount clear of moving branches and strong heat sources. Use SETUP for a walk test across the intended detection area and adjust the aim. Close the case and covers with clean seals before outdoor use. IP66 does not mean underwater use. Switch ON after settings are complete and allow the indicator countdown before leaving the detection area. Test actual night images and detection distance at the installation site.
Transfer Original Files
Use the internal USB data connection for computer transfer or use a compatible card reader. The camera appears as a removable drive; open DCIM and copy the recordings. Do not disconnect during copying. On the lithium version, the separate Type-C charging socket cannot perform this data-transfer function.
Troubleshooting and Care
If no recordings appear, check charge or AA condition for the selected version, card seating, storage space, monitoring hours and whether Time Lapse is enabled. For missed triggers adjust sensitivity, direction and side PIR. Check lens and IR windows for dirt or condensation if images are poor. Back up files before formatting or factory reset. Keep the seal clean, close the camera carefully and follow the hardware-specific battery instructions. The manual contains AA runtime and AA troubleshooting text mixed into the lithium documentation; those statements are not lithium runtime guarantees.
