


Control the AX5 rotating camera head and touchscreen for handheld recording and face-tracking use. Follow the steps below to prepare a card, frame and record, connect a nearby phone and select USB storage or webcam mode.
Before You Start
This guide follows the supplied English AX5 manual. Prepare a TF/microSD card up to 256GB and the supplied Type-C data cable. Keep the camera dry: it is not waterproof. The red charging indicator stays on while charging and turns off when fully charged. A computer USB port can charge slowly and may not maintain charge during use; power off and use a suitable wall charger for faster charging.
Install and Format the Memory Card
With the camera powered off, insert the card in the marked orientation until it clicks. Do not force it. Press inward to eject. Back up any existing files before formatting: formatting permanently deletes stored data. A new card may prompt for formatting. From the main interface, press M to enter the submenu, then use M or the Settings icon to reach system settings and select Format.
Power and Screen Controls
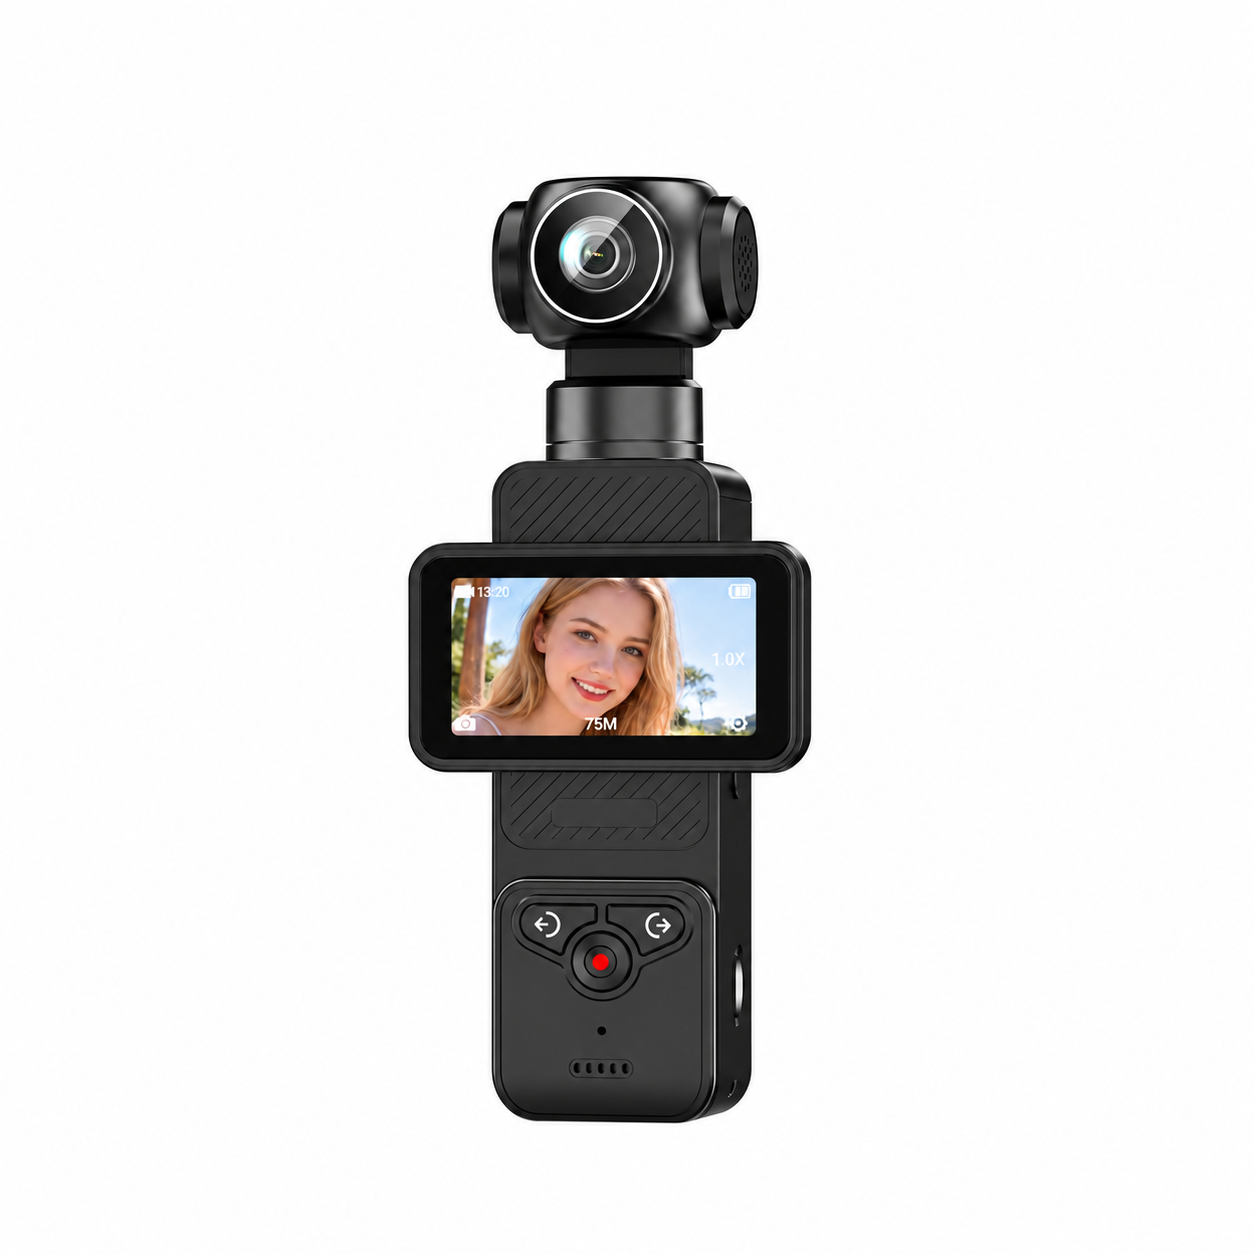
Hold Power/Return to switch on or off. In the main interface a short press changes the display between the standard interface and a view without icons; in a submenu it returns to the previous screen. Set Language and Time/Date in Settings. Swipe down for shortcuts including Wi-Fi, brightness, screen lock, face detection and settings. Swipe up for resolution settings; swipe right for playback; swipe left for exposure, white balance, filter, ISO and sharpness options.

Rotate and Frame the Camera
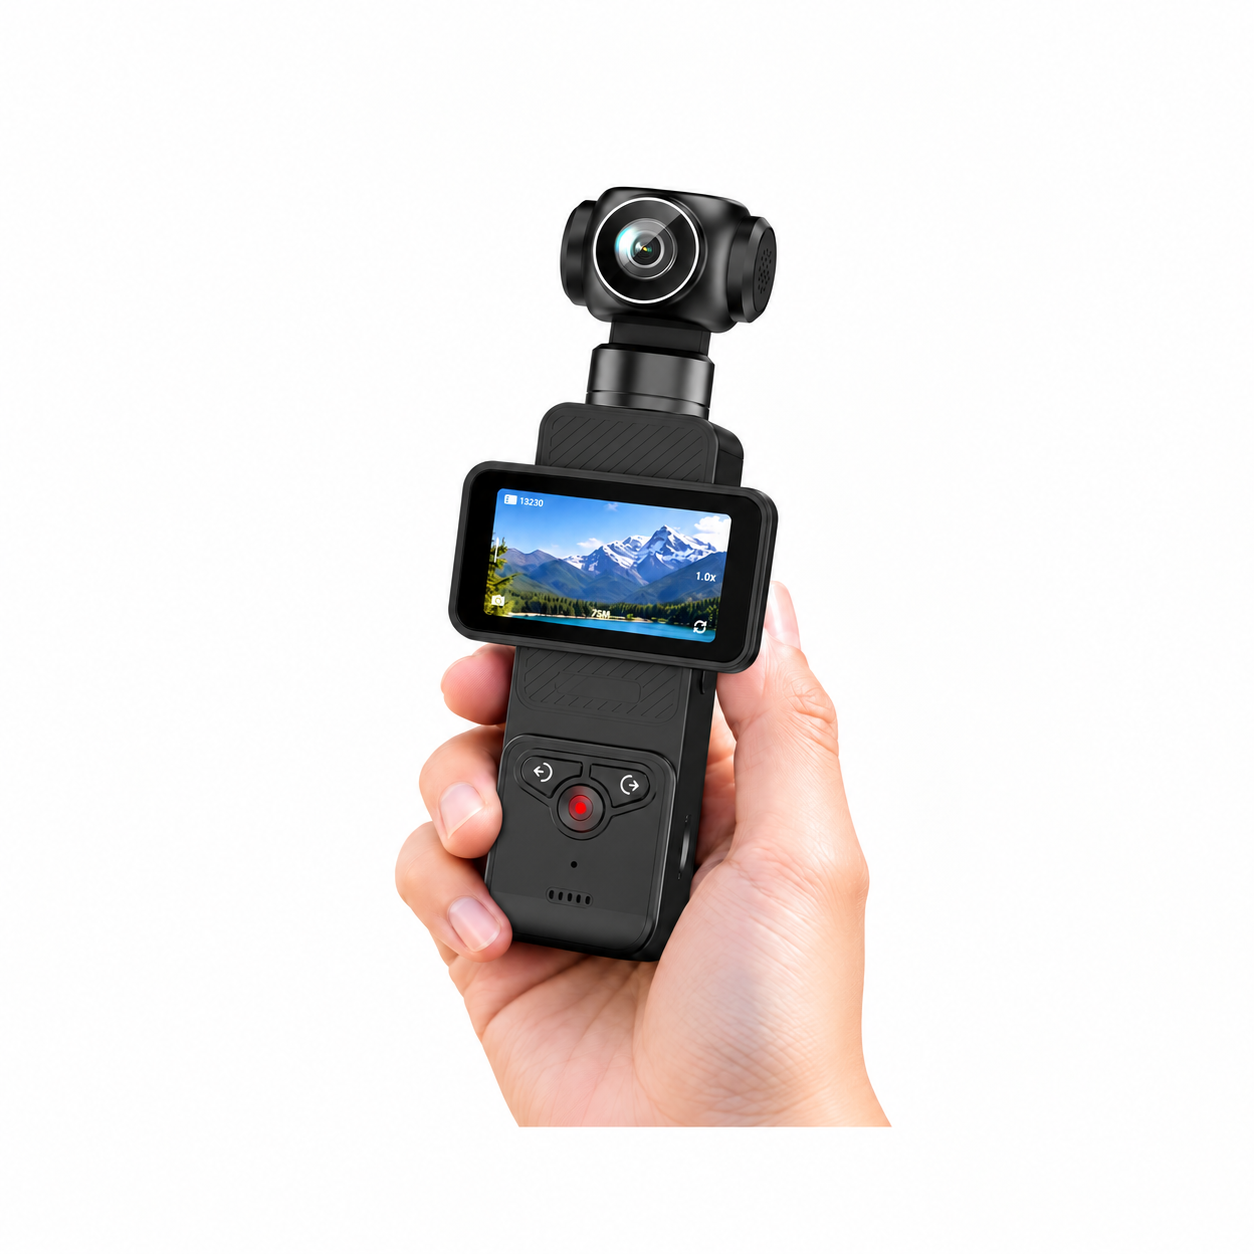
Long-press the left-turn or right-turn button to turn the camera in that direction. Use the rotating screen for framing without forcing it or the motorized head. The manual specifies 330° rotation and gyroscope anti-shake; it does not establish a three-axis mechanical stabilization system. If a motor-stuck warning appears, first make sure the head is unobstructed, then follow the manual instruction to long-press M to recenter. Stop and seek support if it persists.
Take Photos and Record Video
Use the bottom-left mode control to choose Photo or Video. In Photo mode press Confirm/Shoot to capture. In Video mode press it once to start and again to stop. T zooms in and W zooms out using digital zoom. Hold the camera steady and allow approximately 1–3 seconds for autofocus as advised in the manual. Other modes include automatic, burst and timed photos, plus slow, loop and time-lapse recording. Test a short clip before important use.
Choose Output Settings
Photo settings are 8M, 13M, 16M, 20M, 24M, 40M, 64M, 75M and 80M in JPG format. MP4 video settings are 5K, 4K, 2.7K, 1080P and 720P. These labels describe output options, not verified native sensor resolution. The manual does not specify frame rates or interpolation. Choose a setting appropriate to file size and intended use; review an actual sample before committing to a recording workflow.
Connect a Phone over Local Wi-Fi
Install the matching app using the QR code in the supplied manual. Turn on the camera, swipe down and tap Wi-Fi. The screen displays the camera network name and password. Open the phone WLAN settings, join that network using the displayed password, then open the app and select Connect Camera. The manual describes photo capture, video recording, menu settings and file transfer through the app. Stay within the camera Wi-Fi signal range. This is a nearby direct connection, not internet-based remote access. Do not share screenshots showing your network password.
Playback and File Transfer
Swipe right to open playback and select thumbnails. Back up files before using M to delete any recording. For computer transfer, power on the camera and connect the supplied Type-C cable to a USB port. Choose Mass Storage Mode on the camera, open the removable camera drive and copy the files. Do not disconnect the cable during transfer.
Use the USB Webcam Mode
Connect the powered-on camera to the computer with a data-capable Type-C cable and choose Camera Mode instead of Mass Storage Mode. Open compatible webcam or streaming software and select the USB video device as the camera source. If it is not detected, check the selected mode, cable, USB port and software permissions. The manual does not guarantee a particular USB webcam resolution or operating-system version.
Care and Troubleshooting
If the camera will not record, check battery charge, available card space and card seating. Back up files before reformatting. For Wi-Fi problems, rejoin the displayed camera network and check the app connection while nearby. For interrupted USB transfers, reconnect the cable and restart the application. Keep the camera away from rain, liquids and excessive heat. Do not dismantle the camera or battery. Stop use if it becomes damaged, leaks, emits smoke or has an unusual smell; contact support.
Related Product
View the AX5 Face-Tracking Pocket Camera with Rotating Touchscreen for product features and configuration enquiries.
