


Set up the A400 for front- and rear-camera shooting, then choose photo or video settings for your intended recording. The steps below cover power, focus, digital zoom, lighting, the nearby HQ Cam connection and computer file transfer.
Install the Battery and Card
Switch off the camera. Insert the NP-120 battery and TF / microSD card in the directions marked on the camera. Cards up to 256GB are supported. Back up existing files, then format a new card in the camera before shooting. Formatting erases the card.
Charge the Camera
With the battery installed and camera switched off, connect the Type-C cable to a suitable USB power adapter. The red charging indicator turns off when charging is complete. Typical charging takes about 3 hours; a 10–30°C environment is recommended. A separate dual battery charger is optional.

Focus and Zoom
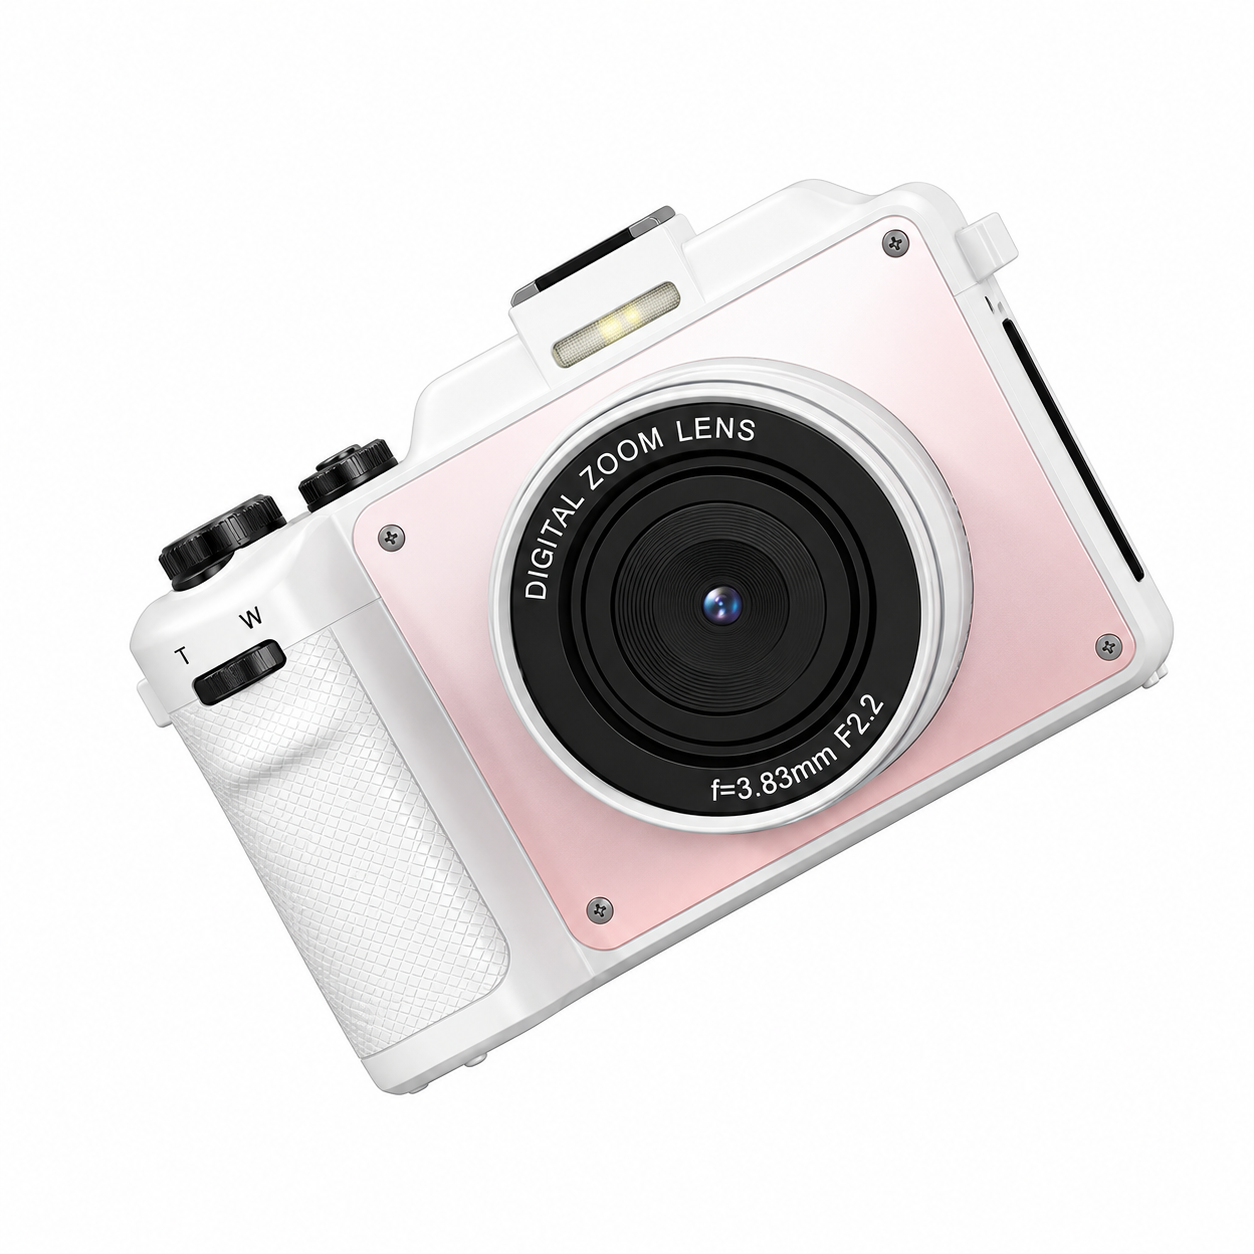
Switch on and press the left button to change between front and rear lenses. Select photo mode with the Mode button. Half-press the shutter, wait for the green focus box, then press fully. T/W adjusts 16× digital zoom. Keep the camera steady. Focus before starting video recording; refocusing during recording is unavailable.
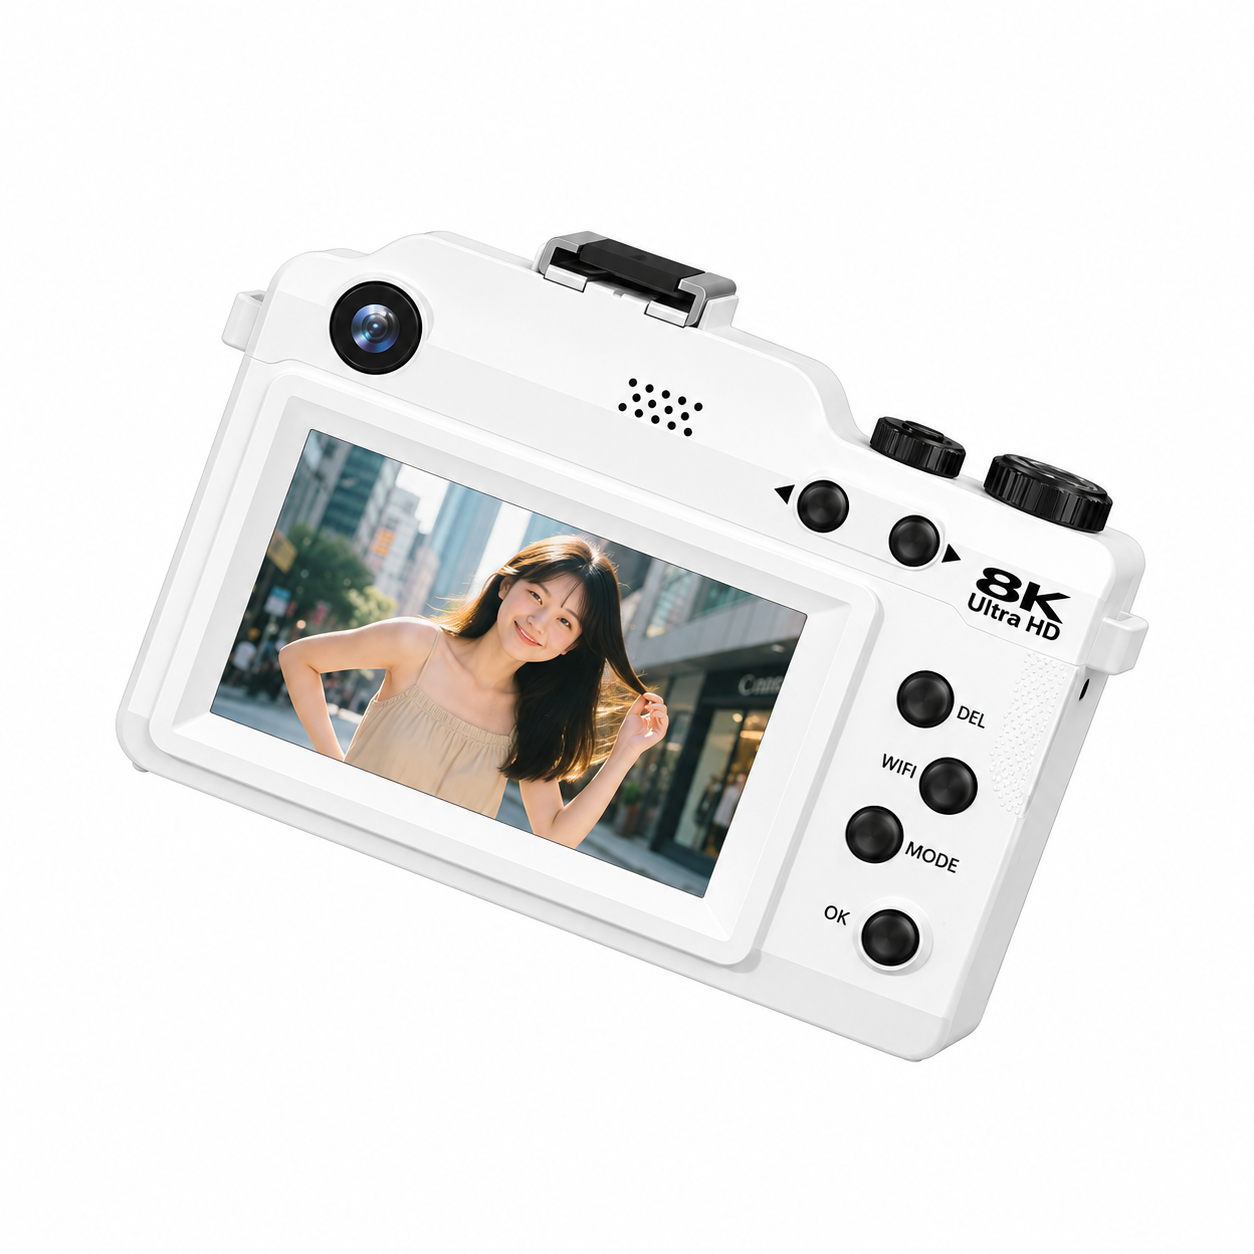
Photo and Video Settings
Choose 48MP JPG for high-resolution interpolated photo output. For video, choose 8K, 5K, 4K, 2.7K, 1080P or 720P; files use MP4 format. Press the recording control to start and stop. Adjust white balance, ISO and exposure compensation to suit the scene. Check card space before a longer recording.
Timer, Filters and Lighting
Select a timer delay of 2, 5, 10, 15 or 30 seconds, or turn it off. Continuous capture offers 3, 5 or 8 shots. Turn the filter dial to select a creative look. Use the built-in flash for photographs and the fill light when additional light is required. Keep the camera dry.
Connect HQ Cam
Enable the camera Wi-Fi hotspot with the Wi-Fi button. On the phone, join the network using the name and password shown on the camera. Open HQ Cam and select Connect Camera. Use this connection close to the camera for preview, settings and file download. This is a direct camera-to-phone connection. Press the camera Wi-Fi button again to turn the hotspot off.
Playback and Computer Use
Press Playback to browse photos and videos. Use T/W to enlarge a photo for inspection. Connect the powered-on camera by Type-C USB and select Storage Mode to copy files, or Webcam Mode for compatible computer software. Keep the cable connected during transfer. Back up important files before deleting or formatting.
Troubleshooting
For blurred photos, check focus distance, half-press focus and hold the camera steady. If recording fails, check free card space and format the card after backing up files. If the app cannot connect, check the active camera hotspot and the phone network selection. For charging problems, check the battery installation, cable and power adapter. Keep the camera away from rain and liquids.
Related Product
View the A400 Dual-Lens Wi-Fi Digital Camera for product features and configuration enquiries.
