


Practical setup and operation guidance for the XINBAI H9W infrared trail camera.
Before You Start
This guide covers the XINBAI H9W using the supplied manual. Prepare eight matching 1.5V AA batteries and a compatible microSD/TF card up to 256GB. The manual specifies Class 6 or above. Switch the camera OFF before inserting or removing the card. Follow the marked orientation; do not force it.
Power and Card Preparation
Install all eight batteries with correct polarity. Do not mix old and new batteries. The selected source configuration excludes batteries. Back up existing card files before formatting: formatting permanently deletes them. Format a new or previously used card in the camera before recording.

Use OFF, TEST and ON Correctly
OFF turns the camera off. TEST turns on the display for settings, manual capture and playback. ON starts automatic monitoring. After switching to ON, the manual describes a 15-second countdown before the screen and indicators turn off for standby. A dark screen in monitoring mode is normal.
Configure Recording
In TEST, use the photo/video selection buttons to choose capture type. Press MENU to open settings, use the arrow buttons to select an item, and press OK to confirm. Choose Photo, Video or Photo + Video as needed. Photo series options are 1, 2, 3 or 10 images; video length ranges from 3 seconds to 10 minutes. Select a suitable storage/quality balance. The 32MP setting is output size, not a verified native sensor resolution.
Set Motion Sensitivity and Shot Lag
Choose Low, Middle or High motion sensitivity according to conditions. Shot Lag sets the pause between detections, from 5 seconds to 60 minutes. A shorter interval can produce more files and use batteries faster. Test the location before leaving the camera unattended.
Position and Test the Camera
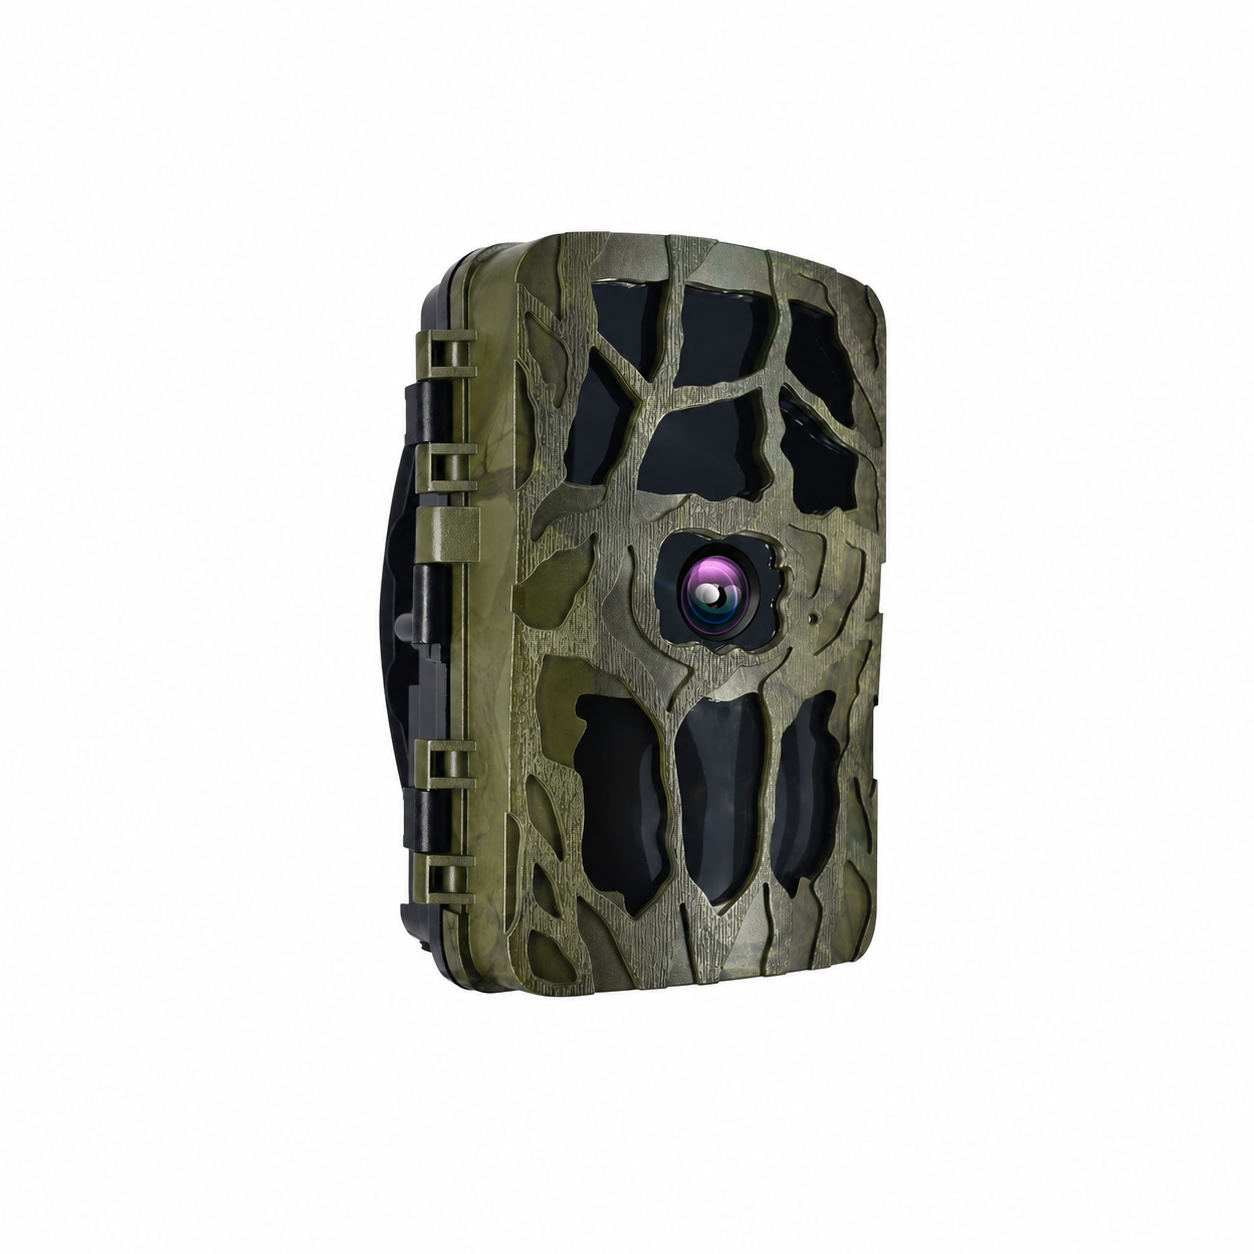
The manual recommends mounting about 1–2m above ground, aimed toward the observation area. In TEST, walk slowly across the detection area and observe the indicator. Adjust position until the intended route is detected. Keep nearby moving vegetation out of the detection area. Close and latch the case securely before deployment.
Time Lapse and Scheduled Hours
Target Recording Time restricts operation to a chosen daily start/stop period. Time Lapse offers Normal, TL Video and Off. Normal takes periodic images; TL Video builds a time-lapse sequence using an interval from 1 second to 24 hours. The manual indicates that motion sensors are deactivated in time-lapse mode. Turn time lapse off when you want motion-triggered recording.
Playback and File Transfer
In TEST, press PLAY to review stored media; use arrows to select files and OK for video playback. For computer transfer, switch OFF and use a compatible card reader, or connect the supplied USB cable as described in the manual; the camera should appear as removable storage. Copy files before deleting or formatting. AV output can be used with a compatible display and cable.
Mounting Bracket Precautions
Before drilling, check for electrical wiring, water pipes and heating pipes. The supplied wall plugs are described for concrete or stone; select fixings appropriate to the actual surface and consult a qualified installer if unsure. Tighten the bracket without forcing the camera thread.
Care and Troubleshooting
If recording stops, check battery condition, card insertion, available space and the selected schedule. Back up files before troubleshooting with a format operation. If expected motion is missed, check sensitivity, shot lag and the detection area. Use the reset option only after noting your settings. Do not disassemble the case. Do not assume a USB or external-power connection charges installed batteries; confirm power specifications before using an adapter.
