


A practical setup guide for the XINBAI H95 solar-assisted Wi-Fi trail camera, covering power, storage, local app access and motion-triggered recording.
Before installation
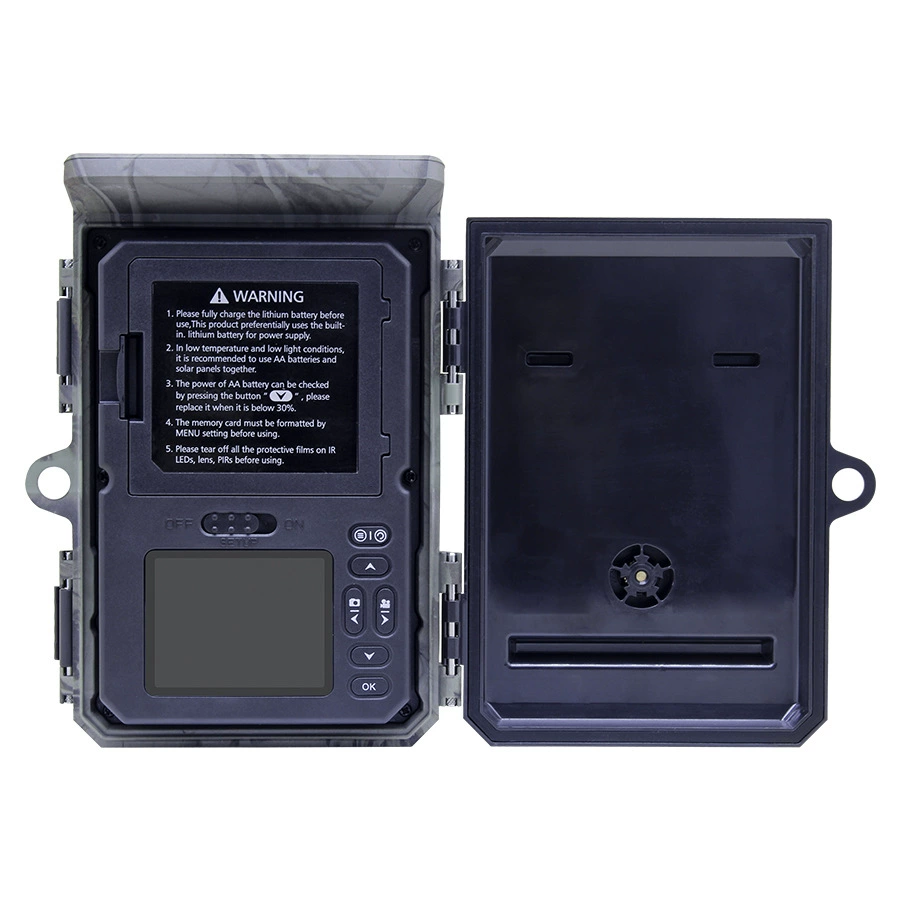
Charge the built-in battery using a 5V/1A Micro USB adapter. Install four matching AA alkaline backup batteries, observing polarity. Do not mix old and new batteries. Insert a Class 10 microSD/TF card between 4GB and 256GB with the camera switched off.
Initial setup
Move the switch to SETUP. Choose the language and set the date/time. Back up any existing card files before formatting; formatting deletes card contents. Select photo, video or photo-plus-video mode. For a starting configuration, use the manual defaults: 8MP photos, 2K/30fps video, 10-second clips, medium PIR sensitivity and a 30-second trigger interval. Adjust to the application.
Connect locally with the app
Install the WILDLIFE CAM app specified in the supplied manual, checking the app identity before installation. Enable phone Bluetooth and Wi-Fi; enable Bluetooth in the camera menu. Keep the phone within 10m. With the camera in SETUP or ON, open the app and add the matching camera. Allow connection to its Wi-Fi network when prompted. Use preview, download and settings after connection. This is local access, not internet or cellular remote access. Disconnect after use to conserve power.
Position and test
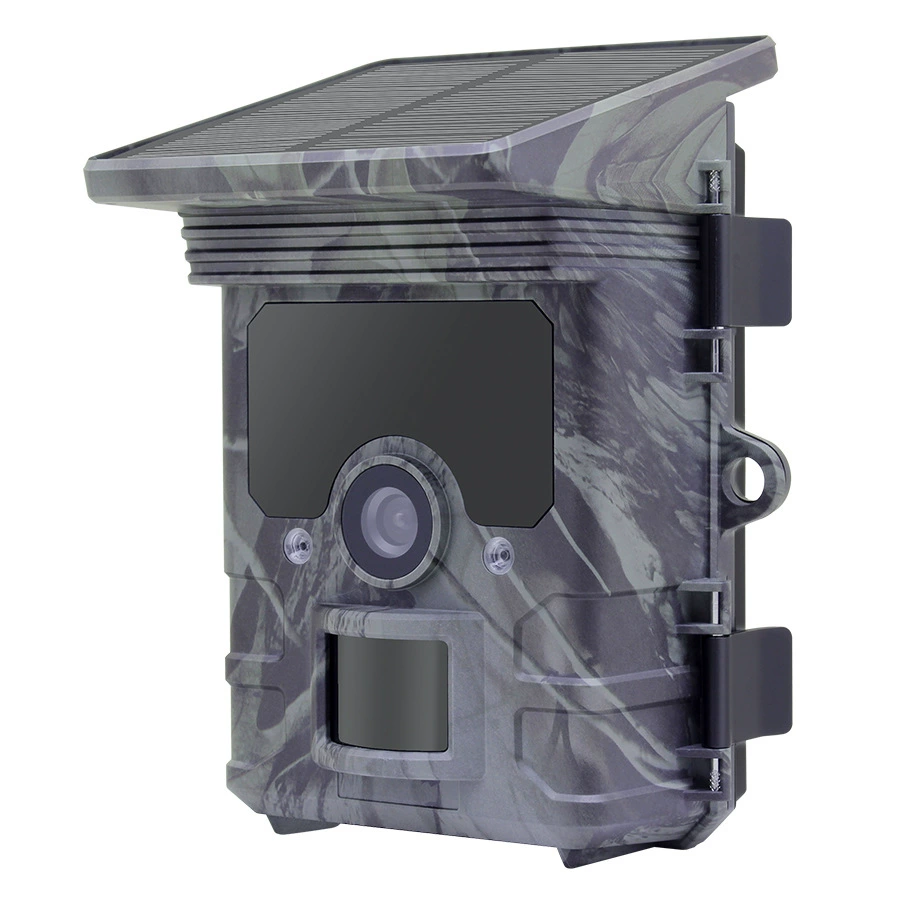
Mount the camera at the height of the target animal. The manual supports horizontal mounting around 1m above ground. Walk across the PIR detection area during testing and observe the red indicator. Keep moving vegetation away from the immediate foreground. The lens field of view is 80°, while PIR detection covers 60°; these are different measurements. Actual detection and night illumination depend on conditions.
Start automatic recording
Complete settings in SETUP, then move the switch to ON. The red LED flashes for about five seconds before automatic monitoring starts. Close and latch the battery compartment, keeping its seal clean. Daytime images are colour and infrared night images are monochrome.
Timed capture and storage
Enabling timed capture disables automatic PIR triggering according to the manual. With loop recording off, recording stops when the card is full; enabling loop recording overwrites the oldest files. Download important files regularly.
Solar and battery care
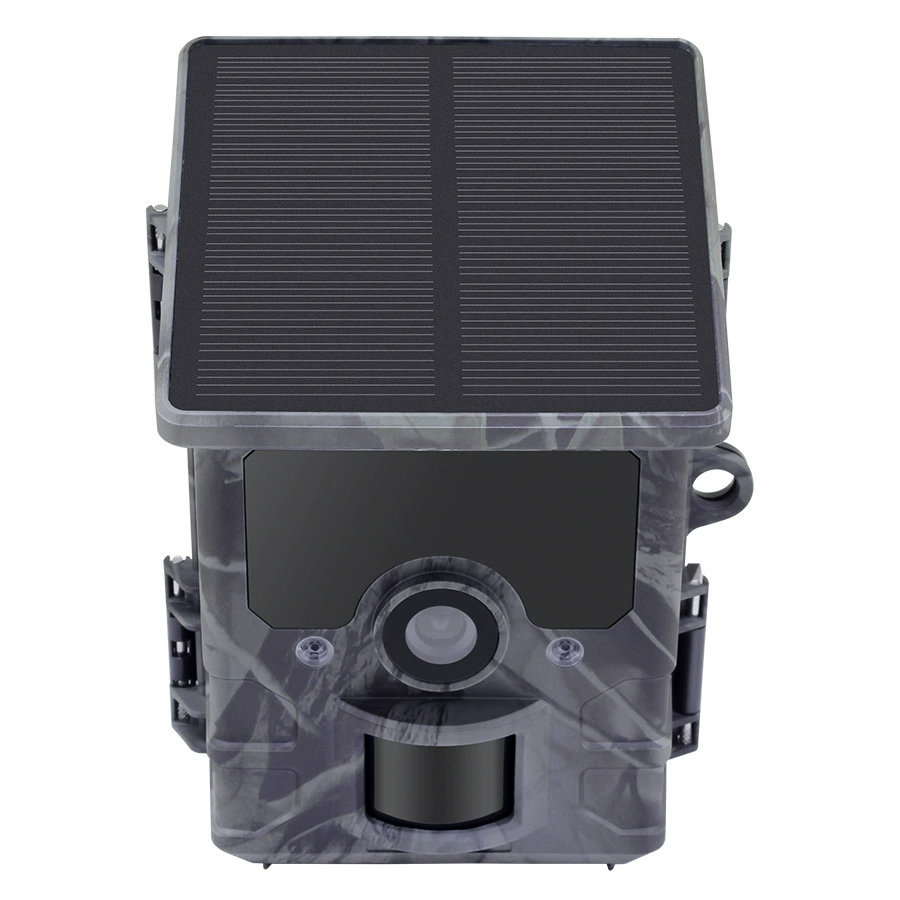
Keep the panel clean and exposed to suitable sunlight. Solar charging temperature is 0–50°C; the broader operating temperature is -20–60°C. Solar replenishment is slow and may not match frequent recording. Low power can shorten night clips or suppress night recording. Remove AA batteries for storage longer than six months and recharge the internal battery every three months during storage.
Troubleshooting
If the app cannot connect, check camera Bluetooth, distance and the selected device, then restart the app. For missed triggers, check PIR sensitivity, remove lens protection film and clear moving vegetation. For recording failures, check battery level, card space and card speed. Back up files before formatting. If the camera becomes unresponsive, use the manual's reset procedure. Do not treat IP66 as permission to submerge the camera.
Product Reference
Model: H95. Photo output is 8MP, with interpolated settings up to 46MP. Video recording supports up to 4K at 30fps. This guide follows the supplied H95 manual, Ver1.3; menu wording may vary by firmware.
